How to Customize Sidebar in Divi
By Divi Dude
If you’re like me and are using the sidebar for your blog posts, then you probably would like to add a little more style to the sidebar using Divi. The generic, out-of-the-box look that comes with WordPress just doesn’t always cut it.
Customizing the sidebar titles and the rest of the sidebar components is easy with a little bit of custom CSS.
Step 1: Use Inspect tool to View Sidebar
The first thing we do is Inspect a title to see what class Divi has assigned to it. And by doing this, we can see it is the class .et_pb_widget and for the titles it is .et_pb_widget .widgettitle.
If you’re not sure how to inspect an item, it’s really simple. Use your mouse cursor to hover over the item you want to inspect and then click on the right mouse button and choose Inspect (or Inspect Element if using Edge).
Step 2: Open Stylesheet to add Custom CSS
Next, we want to open our custom CSS style sheet. We can do that either via the Theme Options panel, the Theme Customizer panel, or in your child theme via the Appearance > Editor menu link in the WordPress dashboard (see this article on how to add your own child theme to Divi).
Step 3: Add Sidebar Class to Stylesheet
Using your preferred method from step 2, type in:
/* CUSTOMIZE TITLES IN SIDEBAR */
    .et_pb_widget .widgettitle {
}

/* CUSTOMIZE SIDEBAR COMPONENTS */
    .et_pb_widget {
}
Note, we use the /* */ for commenting purposes only. I find it helpful to include a little note before my custom CSS so I know what it does.
Now that we’ve added the class that we found in step 1, we are ready to start adding our own custom style to the sidebar. We’ll start with titles in the next step.
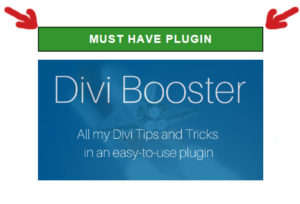
Note: The above is not an ad for Divi Booster, it’s a sample of the custom sidebar title we are making.
Step 4: Add CSS To Create Custom Sidebar Title
Here’s where we can really change the look of the titles.I want to create titles that are in green boxes, with white text, caps and a border. Like what you see in the photo.
/* CUSTOMIZE TITLES IN SIDEBAR */
.et_pb_widget .widgettitle {
    background: #32952d;
    padding: 8px 8px;
    color: #fff;
    font-size: 14px;
    font-weight: 600;
    line-height: 1;
    letter-spacing: 1.2px;
    text-transform: uppercase;
    margin-bottom:10px;
    text-align: center;
    border: solid 1px #000;
}
If all this code confuses you, you might want to get a book on CSS so you have a handy reference for the future.
Other things you can try, include rounding the borders. Add this code to the CSS (it will go between the {} brackets).
Border-radius: 25px;Step 5: Customize the Sidebar Widgets
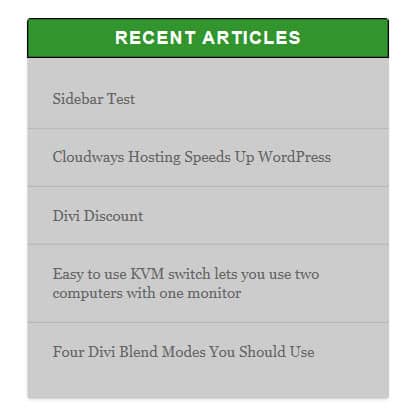
Now that we have the sidebar titles customized, let’s look at the area underneath them.
Since we are on a plain white background, I think it would look nice to offset the sidebar info a bit. So let’s create a box below it that is light grey.
Earlier we used the Inspect Tool to find the class, which if you recall from step one is:
/* CUSTOMIZE SIDEBAR COMPONENTS */
.et_pb_widget {
}
Now let’s figure out how we want it to look. We want to set our display to block, our background to a darker color to set it apart from the white background, so let’s do a grey. We need to set our width so it takes up the entire block. We want to add a little bit of border curvature to it, so we’ll change the radius of the border. We want to add a touch of a drop shadow to the box, so it pops off the screen a bit. We need to set padding to give it a little bit of distance. And finally, we need to hide anything extra. Taking all that into account, we do this:
/* CUSTOMIZE SIDEBAR COMPONENTS */
.et_pb_widget {
       display: block;
    background: #ccc;
    width: 100%;
    border-radius: 3px;
    box-shadow: 0 1px 3px rgba(0,0,0,.1);
    padding-bottom: 15px;
    overflow: hidden;
}
Step 6: Customize the Sidebar Bullets
Now let’s look to see how we can customize any bulleted lists we have in our sidebar. If we look at the bulleted list with the Inspect Tool to find the class, we see it is:
/* CUSTOMIZE BULLETED LIST IN SIDEBAR */
.et_pb_widget li {
}
I want to keep the same colors we used in the above section where just customized the widget area, so we don’t need to change any of that info. I want to add some lines underneath each bullet, and make sure I set the line height so it’s easier to read.
/* CUSTOMIZE BULLETED LIST IN SIDEBAR */
.et_pb_widget li {
    border-bottom: 1px solid rgba(0,0,0,.1);
    margin: 0;
    padding: 15px 20px;
    font-size: 12px;
    line-height: 1.3em;
}
It is going to take the current et_pb_widget settings, so if you want to change any of those values within the bullet lists you will need to add them. For instance, in our example we changed the value of the padding.
We don’t want a border under the very last bulleted item, so we need to turn it off just for that last item.
/* REMOVE LAST LINE IN BULLET LIST SIDEBAR */
.et_pb_widget li:last-child {
    border: 0;
}
You can play with the values of background, border-radius, box-shadow, and margin to get different looks. (see my YouTube tutorial on drop shadows if you are not familiar with them).
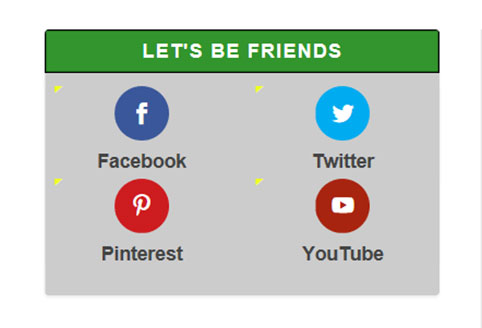
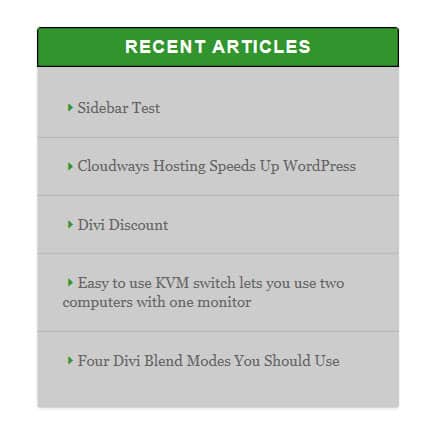
Step 7: Add Custom Styled Bullets
I like using a sideways triangle for my bullets. We can add them by using the EtModules font family (or you can use an font of your favorite fonts that have the bullet graphic you want). But since we are using Divi, I’ll just use the Divi fonts that comes with the WordPress theme. And because I’ve been using it for years, I know the font I want to use is the letter E. Here’s how I change the code to get a right pointing triangle font.
/* CHANGE BULLET ICON IN SIDEBAR */
.et_pb_widget li a:before {
    float: left;
    content: "E";
    color: #f0ff23;
    font-family: 'ETmodules';
}
Again, if you want to know what exactly each of these CSS codes do, I highly recommend getting a good CSS book, something you can read even when you don’t have internet access available.
These are just some of the fun things you can do to customize your sidebar from what comes standard in Divi. And if you’re using another WordPress theme, then these should work for you. You will just need to change the class to what your theme uses (which you can find out what it is using the Inspect Tool).
And if you are using another WordPress theme, then you ought to read my 10 Reasons Why I Use Divi. Perhaps it will change your life.

Must Have Plugins


Faster WordPress Hosting

Affordable Domain Registration
Get $1.00 off.
DiviDudeWeb16

Favorite WordPress Theme

Start Your Newsletter

For Your Inner Nerd

Affiliate marketer: Which means when you click a link and purchase an item, I may receive a commission.
More From Divi Dude

Delete Spam Comments in Bulk Without Plugin on Cloudways
Sometimes you screw up and forget to turn off comments on your WordPress website, or forget to configure your Askimet, or do both, and then you end up with thousands of comments that are nothing but spam. We’re talking hundreds of pages worth of comments that need to…

MailerLite is an affordable, easy-to-use newsletter and email marketing platform
For the longest time I used MailChimp. I was drawn to the 2,000 free subscribers.
But when MailChimp changed how they defined subscribers and made some other not so user friendly changes, I started looking for alternatives. Not just for the free tier, but for my paid subscriber lists (I have clients that send out newsletters and they need more bang for the buck than what many free tier offers).
Delete Spam Comments in Bulk Without Plugin on Cloudways
Sometimes you screw up and forget to turn off comments on your WordPress website, or forget to configure your Askimet, or do both, and then you end up with thousands of comments that are nothing but spam. We’re talking hundreds of pages worth of comments that need to…
